If you're struggling to color anime eyes because no matter what you try they just look lifeless, this tutorial is for you. You're going to learn how to color eyes in anime style that make your character look like they're brimming with life!
Let me know what you think of this anime eye coloring tutorial and which drawing & painting tutorials you'd like to see next!
Watch the step by step video tutorial:
✦ Getting Started - What you'll need to color anime eyes in this style
I'm using Paint Tool SAI for this tutorial but you can replicate the steps in your program of choice. It should translate well across programs but you may need to find the right settings or play around with it to fit your needs 🙂
Not using SAI? Check out Clip Studio Paint*, Krita or Paintstorm Studio.
You'll want to use a graphics tablet for better results and to avoid pain or injury to your hands from using a mouse to draw.
This is the lineart we'll be using for this tutorial. Open the one you want to color in your program of choice and let's get coloring!
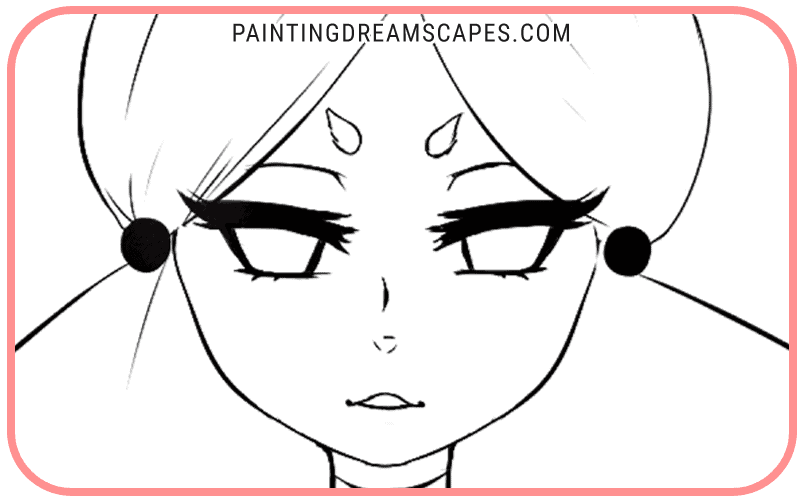
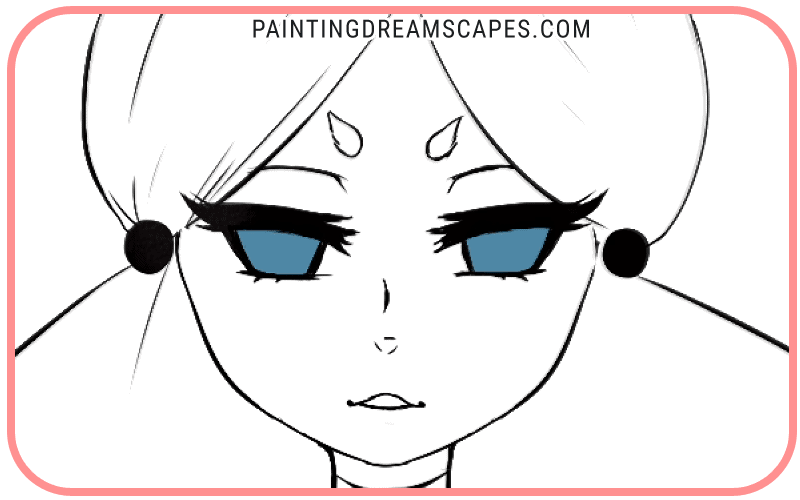
✦ Step 1 - Paint the base color of the eye
Choose a color that isn't too bright or too dark, find the perfect middle ground 🙂 We'll be adding shading and highlights later, so you don't want to start on either extreme.
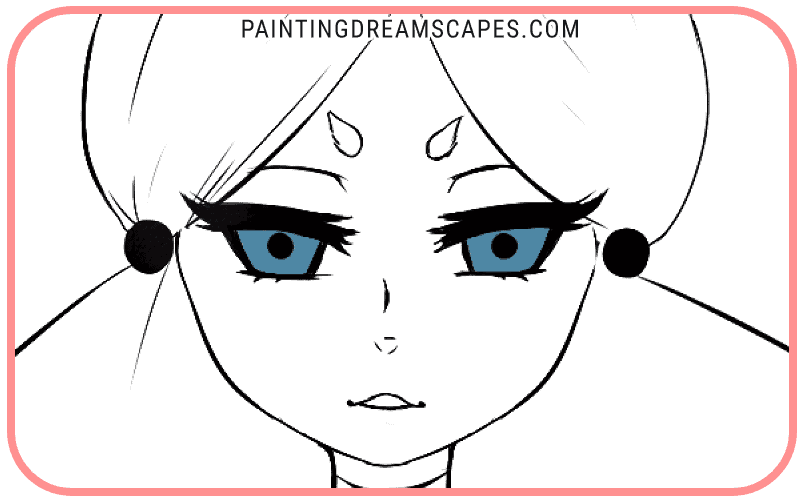
✦ Step 2 - Add the pupils in the right position inside of the eye
I mean, duh, right? But placing the pupils can be tricky! Find the sweet spot so your character doesn't look high, sleepy or plain awkward.
The ideal position is usually near the eyelid but not touching it or being covered by it. Because we're coloring an eye in anime style, you get to play around with the pupils.
If your eye shape is quite vertical, you can make the pupils more elongated, following the shape of the eye.
✦ Related: Painting Backgrounds for beginners: How to paint a sunny sky with clouds (includes video tutorial!)
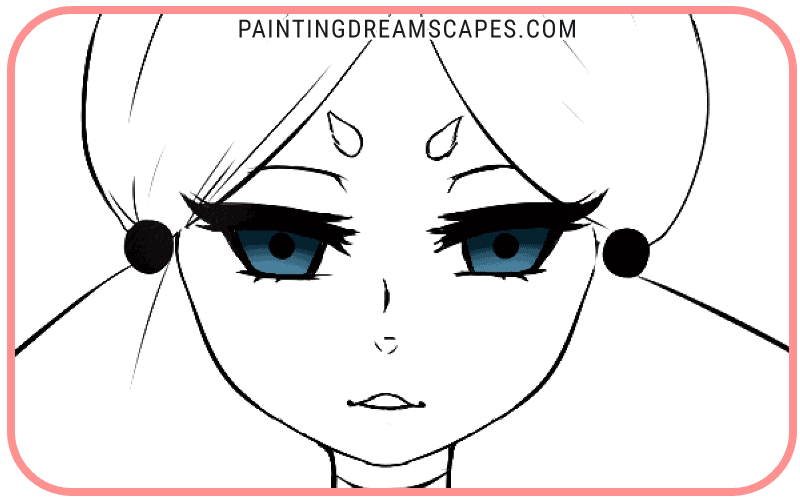
✦ Step 3 - Apply the shadows cast by the eyelids and eyelashes
The eye is round and the eyelid and eyelashes are going to cast a shadow on the top part of the eye.
Use the airbrush tool with a darker, more saturated hue of your base color and add the shadow to the top part of the eye.
You can make this shadow sorta curvy so it follows the round shape of the eye.

✦ Step 4 - Begin adding highlights to the eye
Create a sort of "U" shape on the lower part of the eye, almost surrounding the pupils but without reaching the top part of the eye where the shadow is. Use a color that is similar to the base color so we get to create a soft gradient that we can make brighter with each stroke.
Choose a brighter color and paint over the original but making sure there's a gradient building towards the bottom center of the eyes, which we want to be the brightest spot in the eye.
Each time you choose a brighter color, you can also choose a slightly more saturated hue.
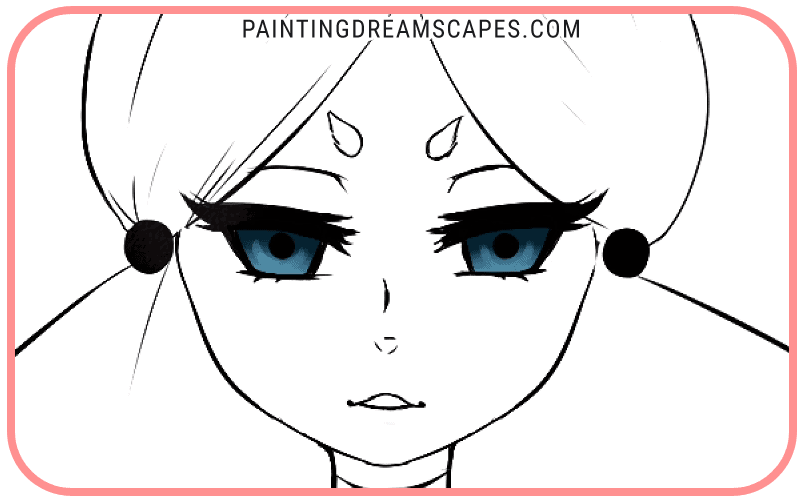
✦ Step 5 - Add the brightest highlight to the eye
Use the pen tool this time and select a bright color, more saturated than the ones you've used so far.
Add a soft stroke in the bottom part of the eye to make that area really pop with light.
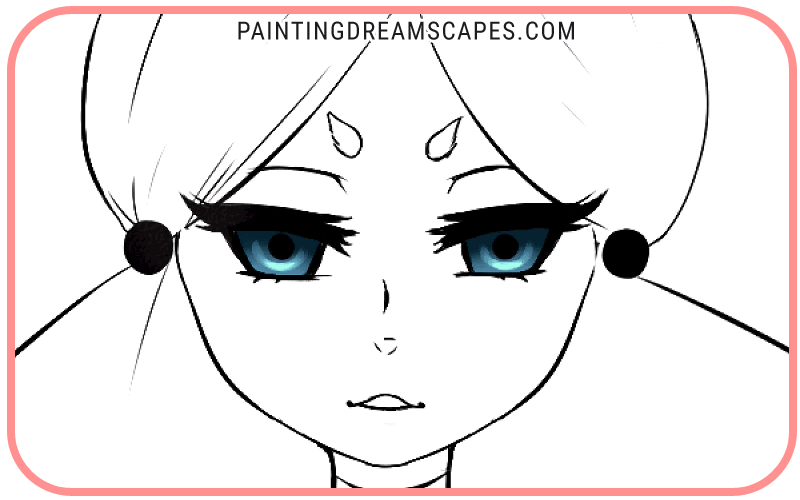
After that, choose a brighter color (or white) and add a few dashes on the brightest area of the eye to make it pop even more. These shapes will give the eye more texture, light and appeal.
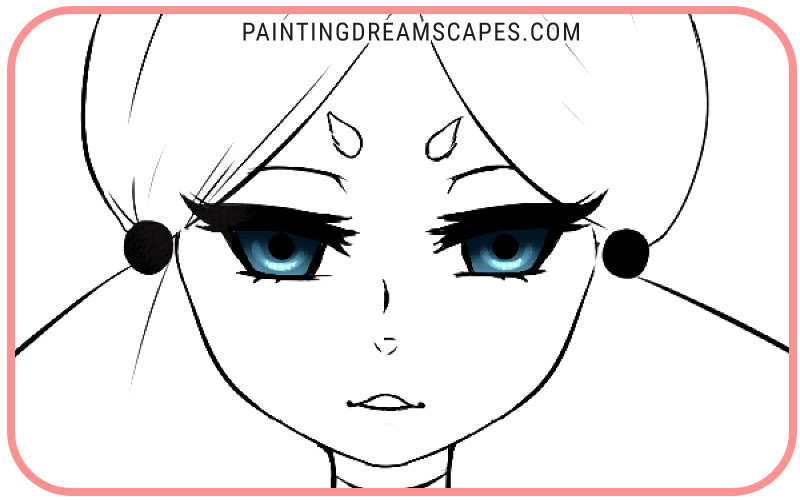
✦ Step 6 - Add the "cute anime eye" reflections
It's time to add the anime eye reflections we all know and love. Use the pen tool and a white color to create circular or elliptical shapes on one side of the eye.
Now add a thin, horizontal line on the opposite side of the eye.
Finally, add one or two small reflections inside of the eye, where the brightest area is.
Remember that the light is coming from a single source so the reflections need to be on the same side, not opposite sides.
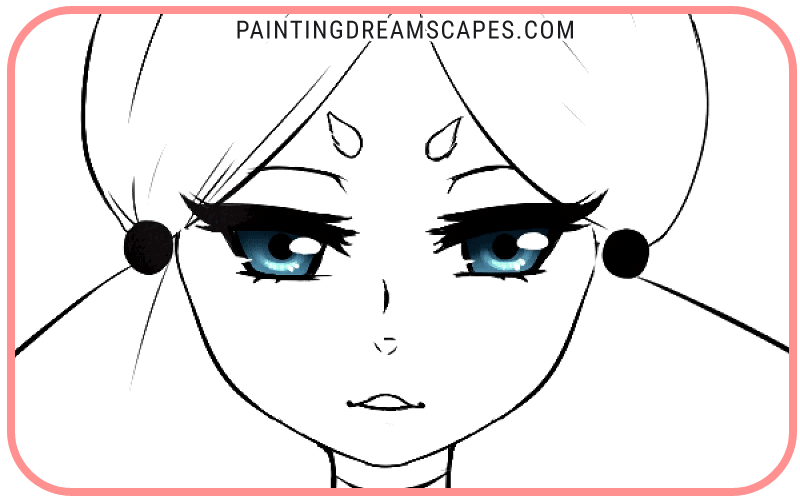

✦ Step 7 - Add a soft glow to the eye reflections to make them come alive
This is the step that makes the eyes pop with life. Create a layer underneath the white reflections and set it to 'Luminosity' mode (in your program it may be called 'dodge' or 'soft glow', or 'addition', or something else).
Now choose a bright version of your base color and use the airbrush tool to create a soft glow around the eye reflections.
This will make your eyes look brimming with life! This glow needs to be of a similar color to the eye for best results.
✦ Related: Learning to Learn: Why you should think beyond tutorials if you want to learn to draw faster
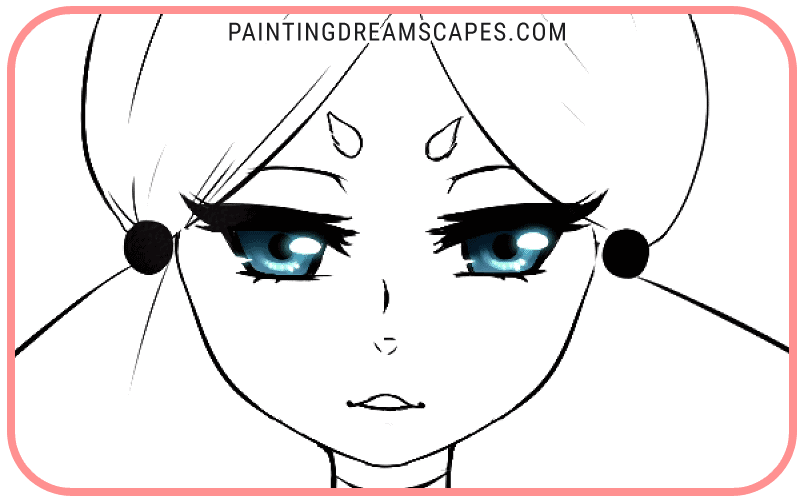
✦ Step 8 - Add a brighter reflection inside of the pupils of the eye (optional)
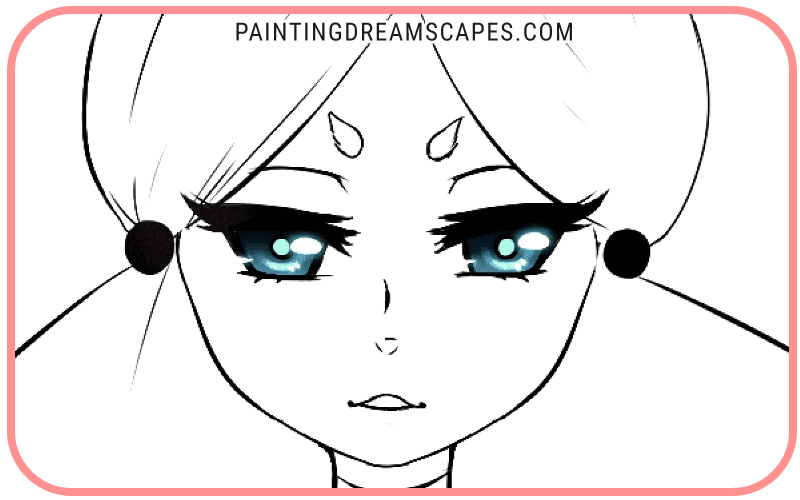
Want an even more popping style for your anime eyes? On the same layer you painted the outer glow, use the pen tool with a bright color and paint over the pupils, leaving some room on the sides (not covering the entire pupil).
This bright, shiny reflection will make the eyes pop even more and give a sort of sci-fi touch to your piece. Fun, no?
✦ Over to you - Feeling more confident about coloring anime eyes?
Woo! You made it to the end of the tutorial 🙂
To recap, in this tutorial you learned how to color anime eyes with ease using Paint Tool SAI. Furthermore, you learned how important adding smooth gradients, reflections and glow are to making your character's eyes look brimming with life.
Did you find it useful? Do you feel more confident in coloring anime eyes that look alive and appealing?
Leave a comment below if you want to see more tutorials and which topics you'd like me to cover!
Pin this post for later!







0 comments